Page 18 - Lehrbuch Neigungsmessung deutsch 2018.indd
P. 18
COMPENDIUM INCLINATION MEASUREMENT
                                       WYLER AG, WINTERTHUR / SWITZERLAND

          1.15  ABSOLUTE MEASUREMENT - RELATIVE MEASUREMENT - LONG-TERM MONITORING

        From an application perspective, there are three different options available.
         A      RELATIVE MEASUREMENT
         When measuring the flatness of an object, such as a granite surface plate, it is important to set the plate
        horizontally. For the measurement of the surface it is only important, however, to look
        at the difference between the individual measurement steps. In other words, in this
        application the measured values are not taken using absolute measurement (deviation
        from centre of the earth). These measurements may be done comfortably with the
        software wylerSPEC. After the measurement, the results may be analyzed and alig-
        ned according to different methods.
         Especially well suited for such measurements are the instruments called BlueSYSTEM SIGMA with or
        without wireless data trans-mission.

         B        ABSOLUTE MEASUREMENT
         Monitoring of buildings, bridges and dams requires the measurement of the values in absolute mode.
        Machine tool inspection is usually done by measuring in the absolute mode and best done with the soft-
        ware MT-SOFT. By doing so, the true position of the objects to be measured is determined. This measu-
        rement in the absolute mode is necessary when, for example,  a horizontal guideway must be compared
        with a vertical spindle. For measurements in the absolute mode, a number of different inclination instru-
        ments and sensors are available.
            I.  Handheld instruments from the BlueSYSTEM SIGMA family with wireless data transmission as
             described under “Relative measurements” are exceptionally well-suited for the measurements of
             machine tool elements. Due to the so called “reversal measurement”, an integral part of the soft-
             ware wylerSPEC, a possible zero point deviation of the measuring instruments may be determined
             and eliminated before starting the measurement.
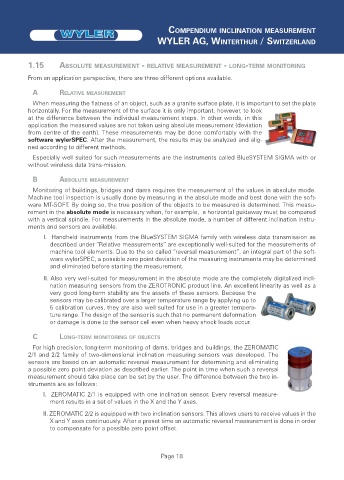
            II. Also very well-suited for measurement in the absolute mode are the completely digitalized incli-
             nation measuring sensors from the ZEROTRONIC product line. An excellent linearity as well as a
             very good long-term stability are the assets of these sensors. Because the
             sensors may be calibrated over a larger temperature range by applying up to
             5 calibration curves, they are also well suited for use in a greater tempera-
             ture range. The design of the sensor is such that no permanent deformation
             or damage is done to the sensor cell even when heavy shock loads occur.
         C      LONG-TERM MONITORING OF OBJECTS
         For high precision, long-term monitoring of dams, bridges and buildings, the ZEROMATIC
        2/1 and 2/2 family of two-dimensional inclination measuring sensors was developed. The
        sensors are based on an automatic reversal measurement for determining and eliminating
        a possible zero point deviation as described earlier. The point in time when such a reversal
        measurement should take place can be set by the user. The difference between the two in-
        struments are as follows:
            I.  ZEROMATIC 2/1 is equipped with one inclination sensor. Every reversal measure-
             ment results in a set of values in the X and the Y axes.
            II.  ZEROMATIC 2/2 is equipped with two inclination sensors. This allows users to receive values in the
             X and Y axes continuously. After a preset time an automatic reversal measurement is done in order
             to compensate for a possible zero point offset.


                                        Page 18

